I got the inspiration for this idea when I saw a picture of another large wood sign browsing Houzz.com. My inspiration photo can be found here.
When we framed our basement, we ripped out some old storage shelving, and the green planks used to make this sign were part of the shelving we removed. I really liked the color and the naturally distressed look. As soon as I saw them, I just knew I needed to make a sign out of them.
If you aren’t lucky enough to come across some already distressed & colored boards, it wouldn’t be too difficult to buy some 1×6’s, then paint and distress them yourself.
I think my dad, brother, and husband (who all helped with the storage room demo) thought I was a little odd in the head. But, I never let that sway me (vision, you have to have vision)!
I started out first by cutting my planks to size and connecting them all together by nailing them into a few 1×2’s (already on hand). I recommend using a nail gun if you have one. It’s leaves the least amount of nail showing and preserves the look of the wood.
 Our nails were a little long so we had to hammer them over on the back.
 Once you’ve got your planks all together, you’ll need to create some way to mount it on the back. I went with some eyelet screws, attached to the side of the 1×2’s, and heavy duty wire between them to hang it like a picture.
Now you’re ready to put words on you sign (or really whatever your heart desires, a pony?, a bowl of fruit?, the sun?, yeah pretty much whatever, lol). If you are a good artist then it would be a great opportunity to showcase your art on a different kind of canvas.
I went with words because I knew I could make a stencil and it wouldn’t be too difficult.
To make my stencil I used my Silhouette Cameo. I bought my Cameo in a bundle from Ebay that came with the vinyl I would need to make my stencil. You could also make your own stencil if you like (there is a tutorial here and here) but I think vinyl works the best to get your lines nice and crisp.
Once you get your stencil cut out (tutorial later on how to create a stencil with a Cameo) you’ll want to line it up on your board to make sure it’ll all fit just right.
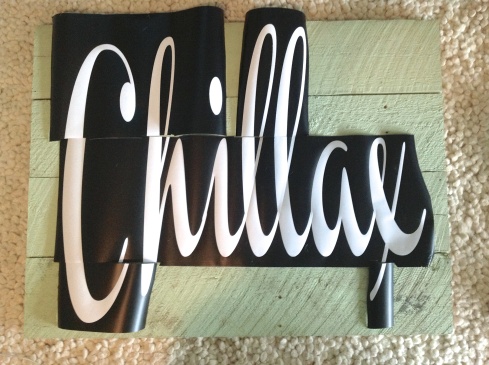 You always want to lay things out before attaching them. If you notice, the bottom of the C did not quite line up for some reason so I needed to cut it out and line it up manually.
Once you are sure of the layout and you like how it looks it’s time to attach it.
With vinyl, you need to put transfer paper on the top first, so that when you peel the back off it’ll still have stability and a way to handle it.
 Now you can peel the back off and attach it to your boards.
 Once you have the back peeled off and laid out on your boards you will want to really burnish them on there. With the bundle I bought I got a scraper to press everything on nicely. If you don’t have a scraper, you can find them here, or anything with a rounded hard edge should work. Don’t use anything without a smooth edge or you risk ripping your vinyl.
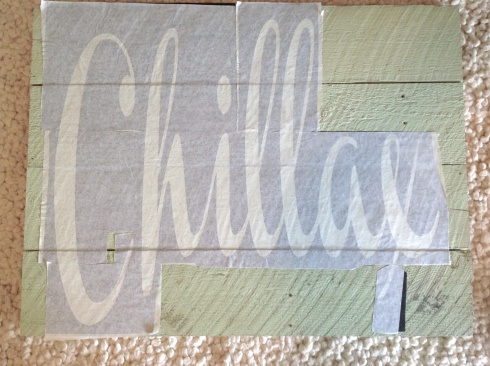 Now that everything is adhered, it’s time to pull off the transfer paper. This part takes a bit of time and patience. If you take the paper off too fast then your vinyl will just pull up. So take it slow. While I pulled my paper up I also took my scraper and pressed down on the vinyl to make sure it stayed in place.
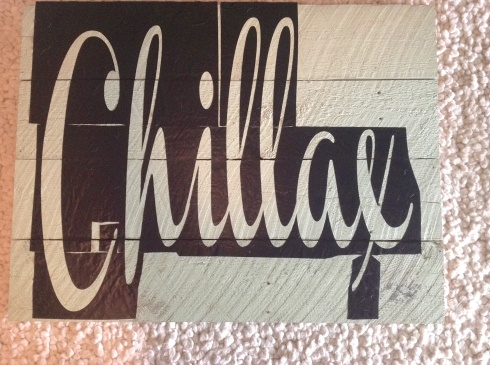
Once you’ve finally got the paper off, the sign will look something like this and you’re almost ready for paint!
 Cover all of the space that you don’t want painted with paper and painters tape or masking tape. I even taped all my letters at the seams to make sure no paint would get under the vinyl.
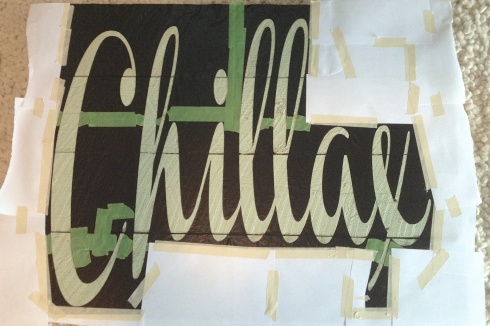 You are now officially ready for painting! Just before I started painting, I pushed around the edges of all of the letters with my fingers just to give them one last good adhesion. On my first coat I went with Krylon white paint+primer spray paint in satin. I wanted to make sure I got good adhesion so that’ why I went with the primer mixture first.
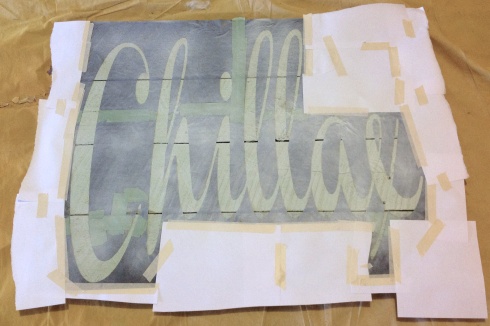 After that I used Krylon white in semi-gloss to do the rest of the coats. Here is coat number two.
 If you are wanting a little of your wood to show through the paint then I would probably stop there. I wanted mine pretty solid so I went ahead and did a third coat of paint.
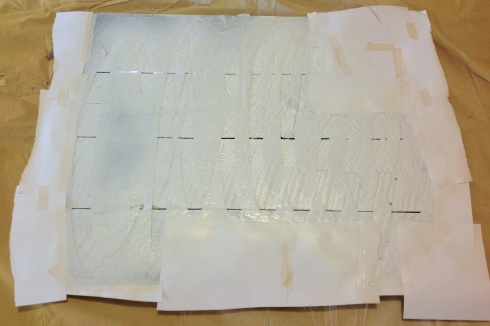 I let everything dry for a long while before I removed my paper. Then this is what I ended up with.
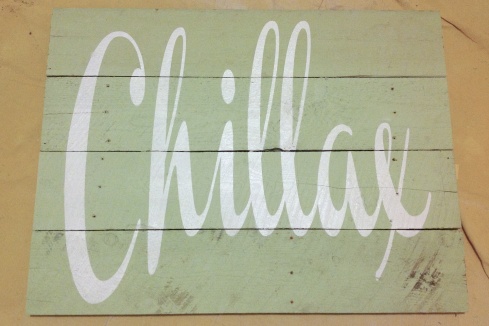 I had a few spots where the lines were a little blurred but they weren’t too bad. You are bound to get that if you are on a very uneven surface as I was. I wanted shading around the letters so I painted it on by hand.
 Last, I wanted my edges to be a little more polished so I finished them with a clear drying polyurethane in satin. In hindsight I think a gloss would have looked better, but the satin is fine.
 Now you are all done and ready to hang your sign! If you use planks anything like ours then that sucker will be HEAVY! If possible try to mount it in a stud. If you don’t have a stud, make sure that you get hardware that will be strong enough to hold it up. I’m sure if it fell it would cause some damage, yikes!
 This is one of our favorite things in our living room and it’s pretty unique too, something I always like. So, maybe if you find some old wood laying around you can make your own sign now!
